Serendipity Blackmagic and Megarip version 9.0 introduce the ability to use an existing Studio Template with a Jobticket for step and repeat processing, making it quick and easy to output batch jobs.
When submitted, the file will be placed into each frame within the template (excluding any Text Frames). If multiple files are selected for submit, each file will be processed separately using the template layout.
Note: Only Frame and Text Frame styles are honoured when using a template attached to the Jobticket. If a template with frame styles including Marker, Canvas Wrap or Frame With Border are used, the job will not be processed.
Important Note: Jobticket > Effects not accepted by Studio submitted jobs will be rendered inactive when submitting a job using the attached Studio Template method. For a list of accepted Effects see the product manual, Studio Rendering Effects section.
Step 1 – Create a Template using Studio
- Open the Studio application
- Create a Layout by either method:
Create Using Blank Frames
- Create a blank frame via Edit Menu > Create Frame, or use the Step and Repeat option (Frame menu > Step and Repeat).
- Edit the Box Properties for size, content fill/fit type etc.
- Repeat for any other frames required in the layout design.
- Save the Template.
Use an Existing Asset
- Submit the File as An Asset (Submit menu > Files as Asset).
- Drag and Drop the Asset into the Layout area once it appears in Studio.
- Resize and adjust any Box Properties (frame size, content fill/fit type etc).
- Add more Assets/Frames as required to the layout design.
- Save the Template.
Step 2 – Assign the Studio template to a Jobticket (Optional)
If the Studio template is assigned to a specific Jobticket, all files submitted to that setup will use the template when processing jobs.
To Assign the Template to a Jobticket:
- Open the Workbench application.
- Select the Jobticket to be used for processing the job, or create a new one.
- Go to the Fit & Rotate Panel.
- In the Step and Repeat section, tick the Enable Step and Repeat checkbox.
Note: The Horizontal/Vertical/Spacing/Cropmarks options will appear active, however they will not apply for the Template used. When a Studio Template is assigned, the Step and Repeat options will become inactive.
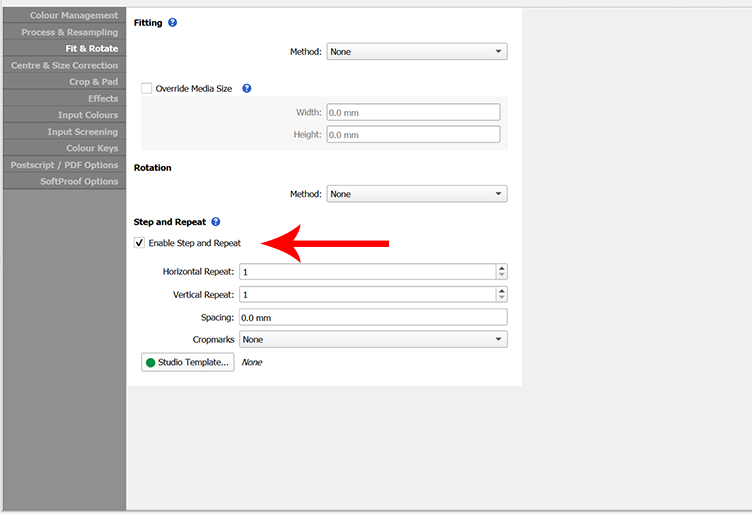
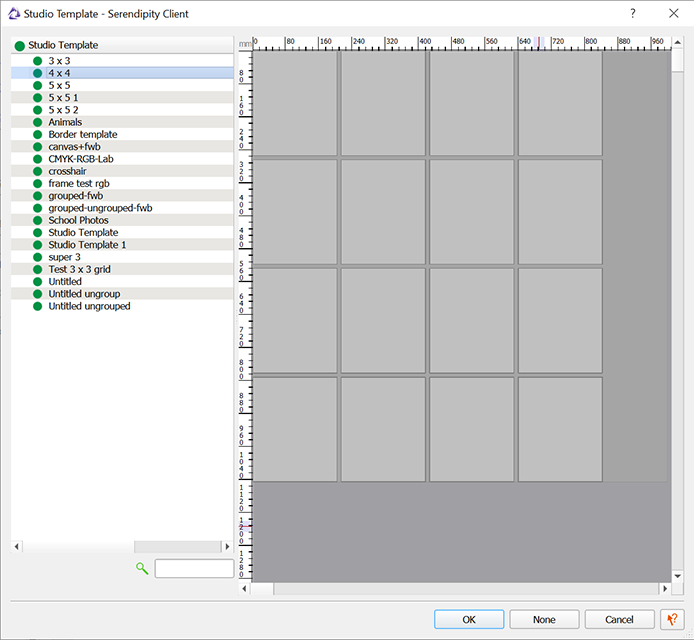
- Select the Studio Template button and assign the template required.
- Save the Jobticket.
Step 3 – Submitting Jobs
Jobs may be submitted via the Submit > Files menu option, or shortcut key (CMD+K / CTRL+K).
Submit Job to a Jobticket with an assigned Studio Template.
- Submit the job as per menu option or shortcut key.
- Select the Pagesetup/Media and Jobticket combination that has the template assigned.
- Select any Hold options (After imaging/Rendering) and select Submit.
- The job will be processed using the Studio Template assigned to the Jobticket.
Tip: If you want to change the assigned Studio Template during Submit, this can be done by editing the Jobticket before submitting the file for processing. See the below on-the-fly instructions for how to adjust the assigned template. The change will only apply for that instance and will not be saved against the Jobticket.
Submit Job to a Jobticket without an assigned Studio Template (on-the-fly)
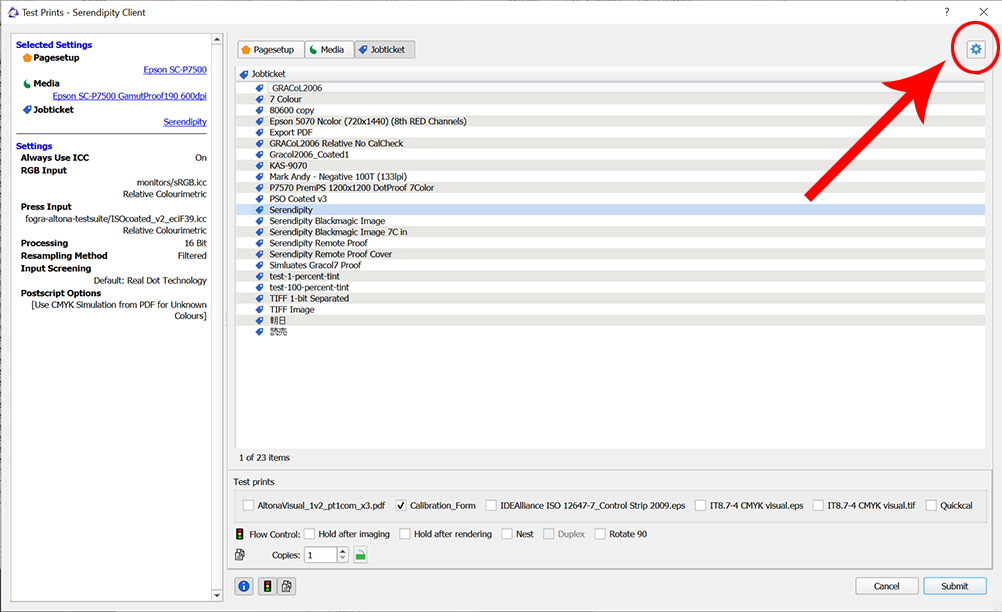
- Submit the job as per menu option or shortcut key.
- Select the Pagesetup/Media to use.
- Select the Jobticket to be used and click the cog icon (top right) to edit the settings before submitting.
- Go to the Fit & Rotate panel.
- Enable the Step and Repeat option.
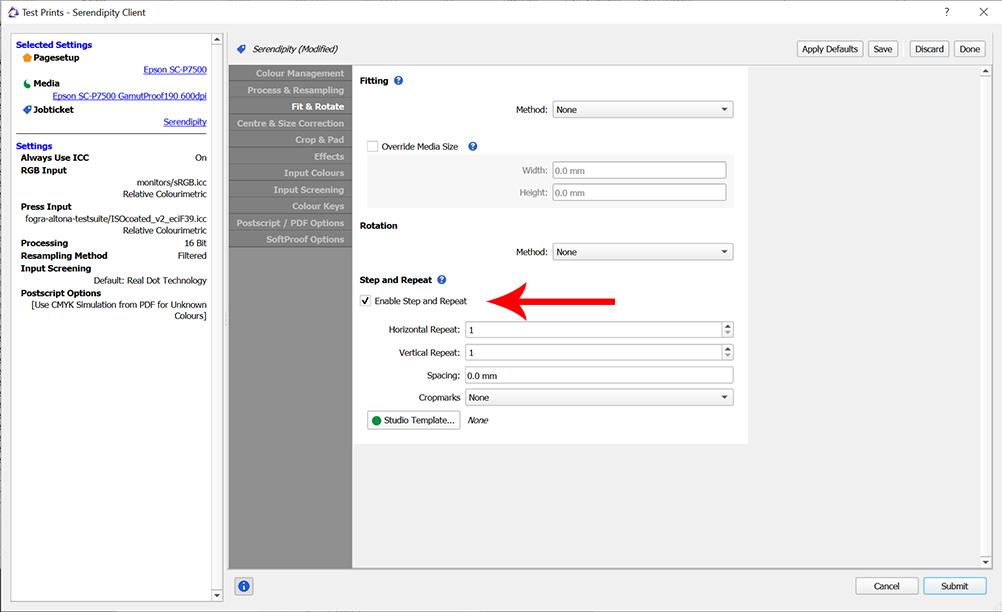
- Select the Studio Template button and assign the template required.
- If there are no further options required, Submit the job.
- The job will be processed using the Studio Template selected.
Example of a processed job using a template (single file submit):