
Veripress / Serendipity Blackmagic (Soft Proofing Add-on) 9.0 adds halftone Screen Simulation for soft proofing.
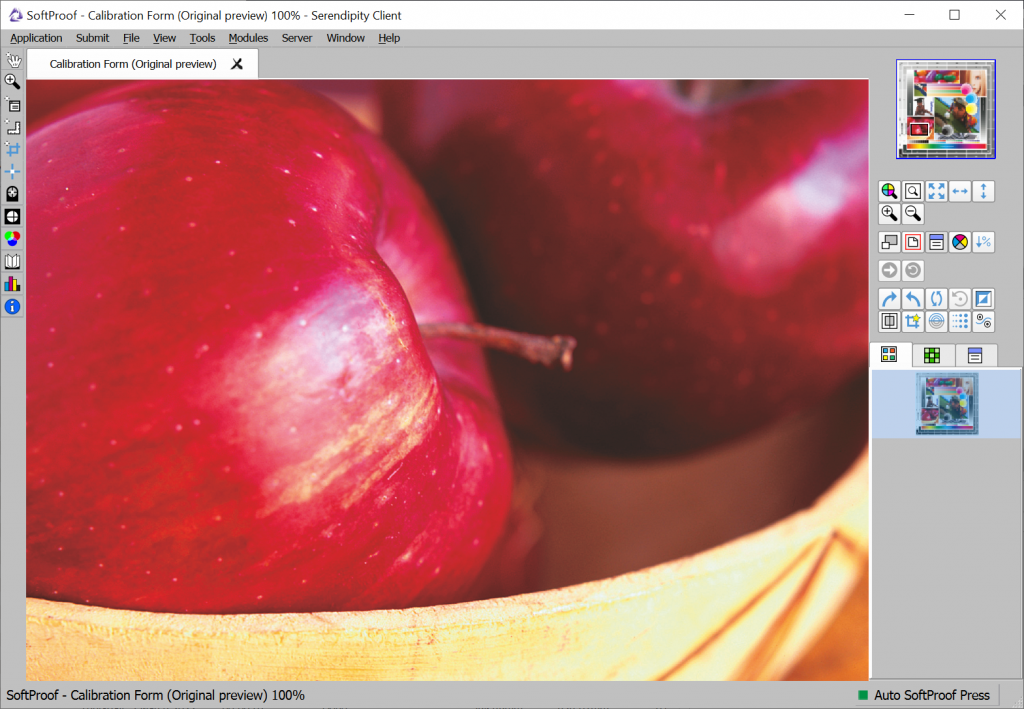
Screen Simulation applies a simulated halftone screen to the currently viewed softproof, allowing users to preview how the job will appear when output by a press or when screen printed.
Activating Screen Simulation in SoftProof
To apply a simulated screening to a SoftProof job:
- Open the job in the SoftProof application
 Press the Screen Simulation button, located in the view buttons on the right of the SoftProof interface, or via the SoftProof > View menu > Screen Simulation option
 Press the Screen Simulation button, located in the view buttons on the right of the SoftProof interface, or via the SoftProof > View menu > Screen Simulation option
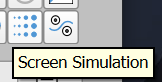 SoftProof will then apply the configured screening to the soft proof job.
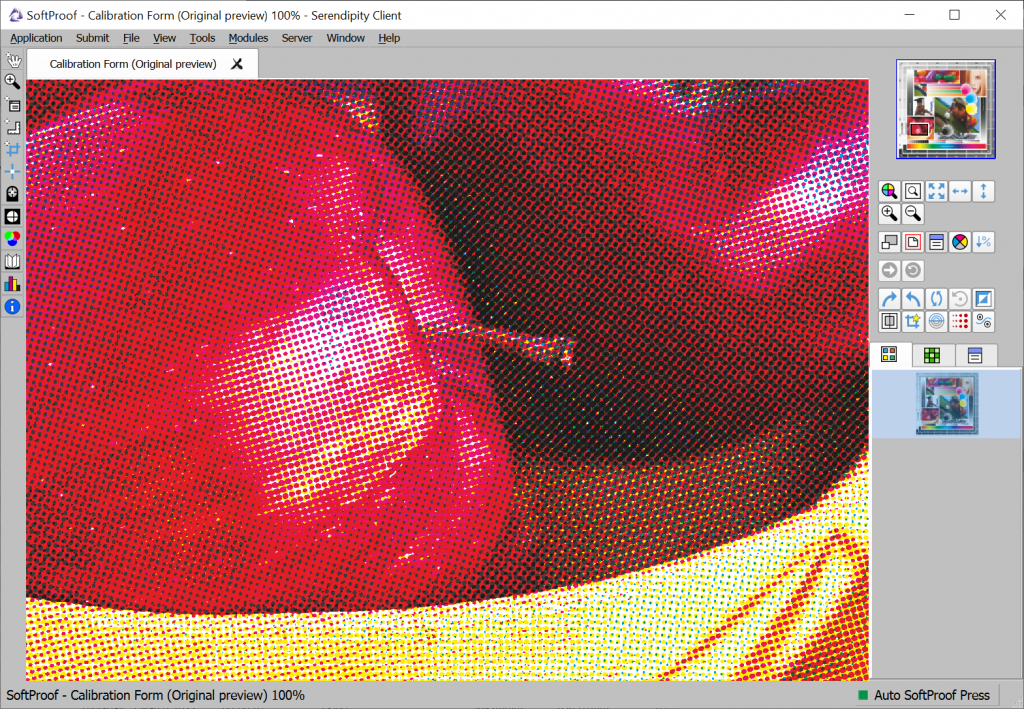
When screen simulation has been applied to the currently loaded soft proof job, the Screen Simulation button (and View menu option) will be indicated in red.
Reverting Screen Simulation
To remove the screen simulation from the soft proof job, restoring the contone original:
- Select the SoftProof > File menu > Revert option
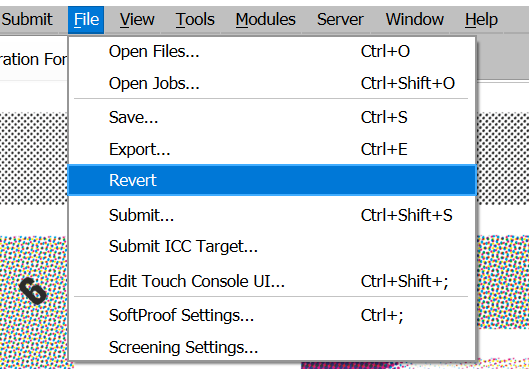
NOTE – Applying a Screen Simulation to a soft proof job is a one way operation, the contone data for the loaded image is lost. Revert reloads the original contone job, any scaling or view options will be reverted to the default on-load settings.
Configuring Screening and Angles for Screen Simulation
To configure the precise halftone screening that will be applied to soft proof job when the Screen Simulation function is activated:
- Select the Softproof > File menu > Screening Settings option to open the Screen Simulation Settings pop-up window.
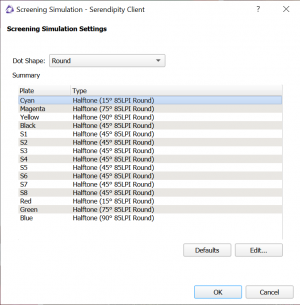
Screening Simulation Settings
(This option is also accessible via the SoftProof right-click (contextual) menu > File menu).
- Select the required dot shape from the Dot Shape: dropdown menu
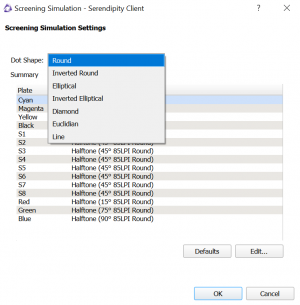
Dot Shape: dropdown menu
- Starting the Cyan plate, click Edit… to configure the Angle (degrees): and Frequency (LPI): to be used for soft proof job plates.
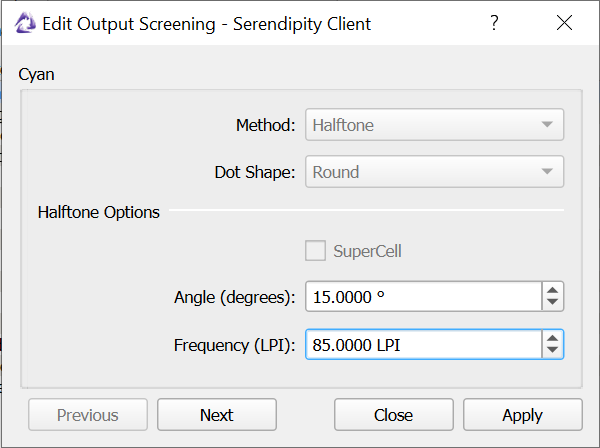
- Click Apply to save the settings for the current plate.
- Click Next to proceed to the next plate.
(Screening and angles are configured via SoftProof > File menu > Screening Settings…). When Screen Simulation is active, the function button in the SoftProof window will change to red.
Revert – reloads the original or printed preview file, reverting any effects that have been applied to the job in the SoftProof application.
SoftProof Settings – …
Screening Settings (Veripress / Blackmagic Softproofing Add-on only) – Opens the Screening Simulation Settings window, used to configure the halftone screening applied to the currently viewed softproof when the Screen Simulation View option is active. Options include:
Dotshape – Choose the dot shape to suit requirements from round, inverted round, elliptical, inverted elliptical, diamond, euclidean, or line. This is applied to all plates in the Defaults panel.
Defaults – Use this to select the default screen angle values, and LPI based on the display resolution.
Edit Button – Select this to manually enter values for each plate.
Angle,Degrees – Enter the desired angle for each plate.
Screen,LPI – Enter the desired screen ruling for each plate.
Screen Simulation (Veripress / Blackmagic Softproofing Add-On only) – This option applies a simulated halftone screen to the currently viewed softproof, allowing users to preview how the job will appear when output by a press or when screen printed. (Screening and angles are configured via SoftProof > File menu > Screening Settings…). When Screen Simulation is active, the function button in the SoftProof window will change to red.