The Nesting feature of Serendipity Blackmagic/Megarip/C5 is designed to automatically arrange queued jobs to best use the space available on the printer media, minimising waste. In some cases however, this can make printed jobs time consuming to cut.
Version 5.4.01+ added a Minimise Cuts feature that optimises the generated layout so a nest can be cut using only full horizontal and vertical cuts. This speeds up trimming by allowing a guillotine to be used.
Minimise Cuts can be activated in a number of ways:-
Minimise Cuts in Workbench for Blackmagic/Megarip
– Tick the Minimise Cuts checkbox located at the top of the Output > Collating panel for the selected printer in the Workbench.
– Save the Output.
Minimise Cuts in Nesting for Megarip C5 / C5 Client
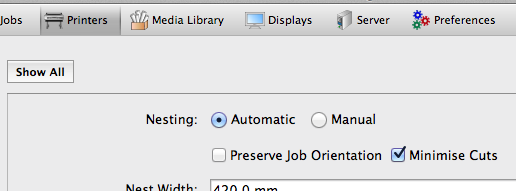
– Select the appropriate Printer in the Printers tab of the C5 Client window
– Select Nesting in the Media panel
– Tick the Minimise Cuts checkbox on in the Nesting options
Minimise Cuts for Auto-arrange in Studio
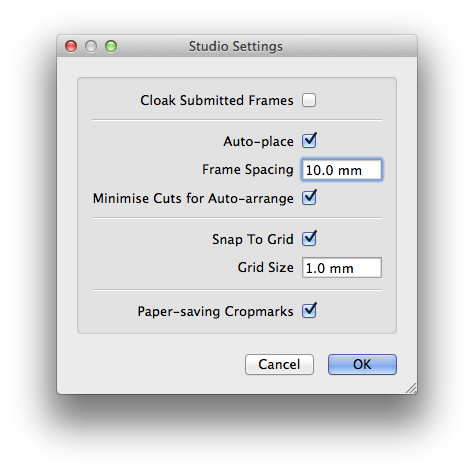
Minimise Cuts can also be applied as an option for use when auto-arranging image frames in the Studio application.
– Choose the Studio Settings option in the Studio menu.
– Tick the Minimise Cuts for Auto-arrange checkbox on in the pop-up panel.
NOTE – In most cases, enabling the Minimise Cuts feature will use more printer media than standard Nesting.


