
Veripress 7.1+ and the Blackmagic 7.1+ SoftProofing Add-on brings a spot/special colour iteration feature to soft proofing.
The Truespot function in the Displays application uses an iterative process to measure and verify spot colours, optimising them for viewing on your soft proofing display. Truespot creates a custom replace colour set within the Displays application that is applied to all jobs viewed in SoftProof. Matching job special colours viewed in SoftProof are replaced with Truespot colours on-screen.
Truespot uses a spectrophotometer to measure the spots in selected Special Colour Sets, then adjust (iterate) them to produce on-screen colours that are a closer ΔE match to the spot colour Lab values. Special colours improved by Truespot are saved to a replace colour set unique to each connected soft proofing monitor.
Existing Truespot colour sets can be added to at any time by adjusting new Special Colour Sets for the display.
The following is a step-by-step guide to performing a Truespot colour iteration for your soft proofing monitor. It is assumed your main soft proofing display has already been calibrated using the Displays application.
- Ensure any spot colours to be used in your soft proofing workflow are loaded into the Special Colour Set(s) to be iterated with Truespot. Note – only Lab spot colours can be iterated using the Truespot function.
- Open the Displays application in the Client Application menu and connect the spectrophotometer.
- Select Truespot in the Displays function list. The display area will list your connected monitor(s) along with a “Truespot Inactive” status.

- Next select the monitor on which to perform Truespot colour iteration from the monitor(s) listed under Truespot in the function list.
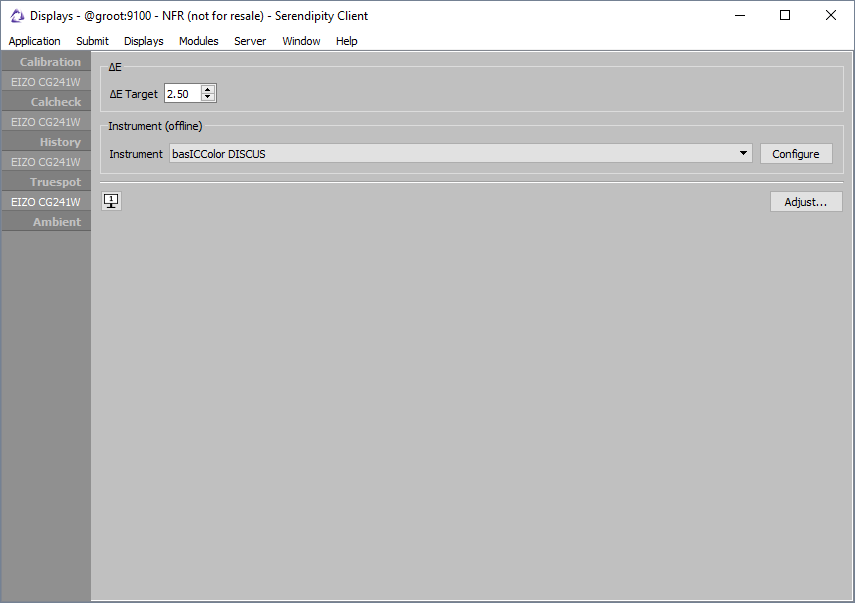
- Enter the ∆E Target tolerance over which the Truespot function will iterate measured spot colours, the default value is ∆E 2.5.
- Select the spectrophotometer to be used from the Instrument drop-down menu. If available, click the Configure button to set instrument options.
- Click the Adjust… button to start Truespot colour iteration.
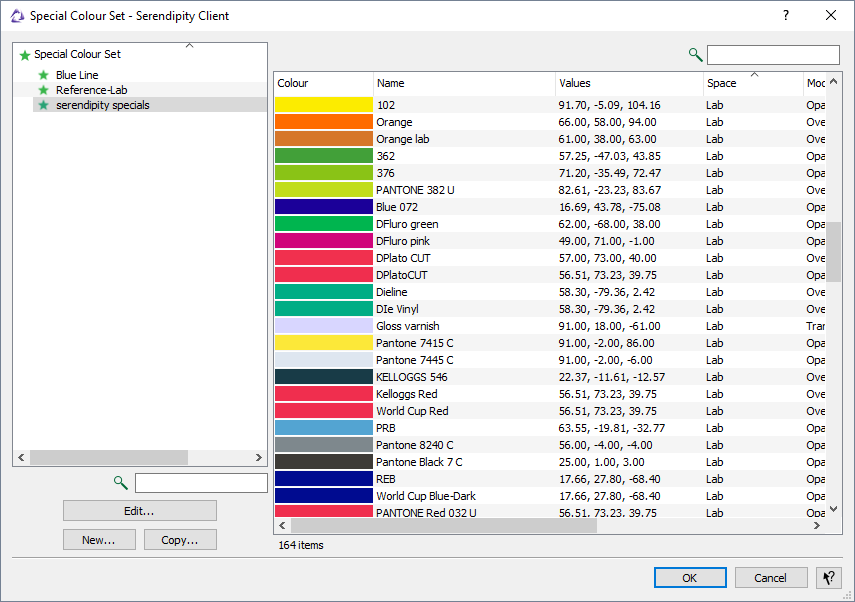
- Select the Special Colour Set to be iterated in the pop-up chooser window, then click OK.
- Follow the on-screen prompts to intialise and place your instument, and begin the spot colour iteration process.
- When complete the display area will show the list of special colours, along with original, measured and iterated values. Also shown are the original and iterated ∆E values for each colour. The lower panel shows measurement and iteration data for each colour iterated by the Truespot function.
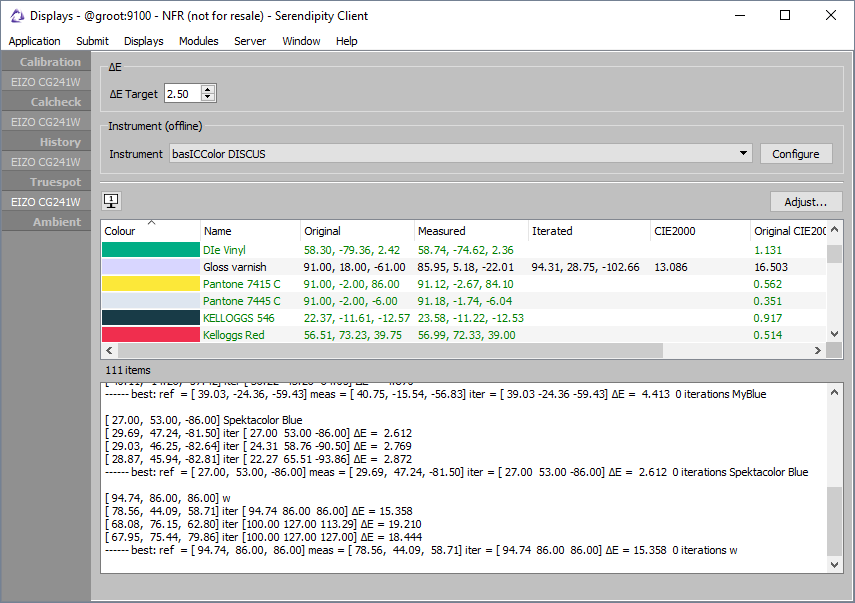


Measured values for the iterated special colour set are colour coded:
- Green – the original colour was measured, determined to be within the configured ΔE tolerance, not iterated and not saved to the Truespot replace colour set. Alternatively, the colour was outside tolerance, iterated to be within tolerance and saved to the Truespot replace colour set.
- Black – the original colour was not within tolerance, after iteration, the colour is still not within tolerance but has been improved by iteration and saved to the Truespot replace colour set.
-
Red – the original colour was not within tolerance, has not been improved by iteration and not saved to the Truespot replace colour set.
Further spot colours can be iterated by clicking Adjust… again, choosing a another Special Colour Set, then repeating the process above.
After a Truespot replace colour set has been created, return to Truespot in the function list. Note the status message change to “Truespot Active, x colours”.
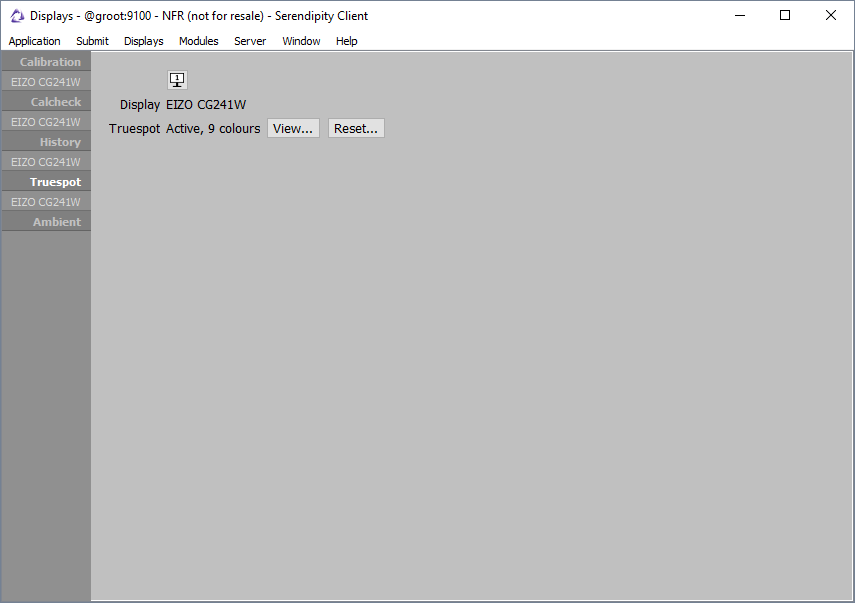
Clicking View… button will open a window showing details the special colours within the Truespot replace colour set.
Clicking the Reset… clears all colours from the set and sets the Truespot status for the selected monitor back to Inactive. A warning message will ask for confirmation of the reset.
For more details on the Displays application and the Truespot function, consult the Veripress and Serendipity Blackmagic product manuals.