Serendipity Blackmagic and Megarip 5.4.02 added a new NColour Ink Configuration function allowing users to profile printers loaded with non-standard replacement ink sets. The interface can define a customised printer ink set including ink colours, light inks and device spot inks.
The process of calibrating and profiling a printer using custom ink set is essentially the same as that outlined in How to Calibrate Your Printer, with the exception of the Paper Profile.
This guide will outline how to correctly create an N-Colour Paper Profile to define a custom ink set. The printer being calibrated in the guide is an Epson Stylus Pro 7900 using a set of replacement inks.
The Epson 7900 ships with a standard set of 11 inks – MK, PK, LK, LLK, C, LC, M, LM, Y, Green and Orange. In this example, all the inks except Matte Black are being replaced by a custom (10) ink set as follows:-
- LIGHT LIGHT BLACK is replaced by ORANGE
- LIGHT BLACK is replaced by a custom LIGHT BLACK
- BLACK is replaced by a custom BLACK
- LIGHT CYAN is replaced by BLUE VIOLET
- CYAN is replaced by AQUA
- LIGHT MAGENTA is replaced by LT FUSCIA
- MAGENTA is replaced by FUSCIA
- YELLOW is replaced by a custom YELLOW
- HEXACHROME ORANGE is replaced by RED
- HEXACHROME GREEN is replaced by LIME GREEN
To begin, first configure an Output, a Media and Pagesetup.
Configure Output
Create and save an Output in the Workbench for the Epson 7900 driver with the relevant settings for Queue, Destination and Collating requirements.
Configure Media
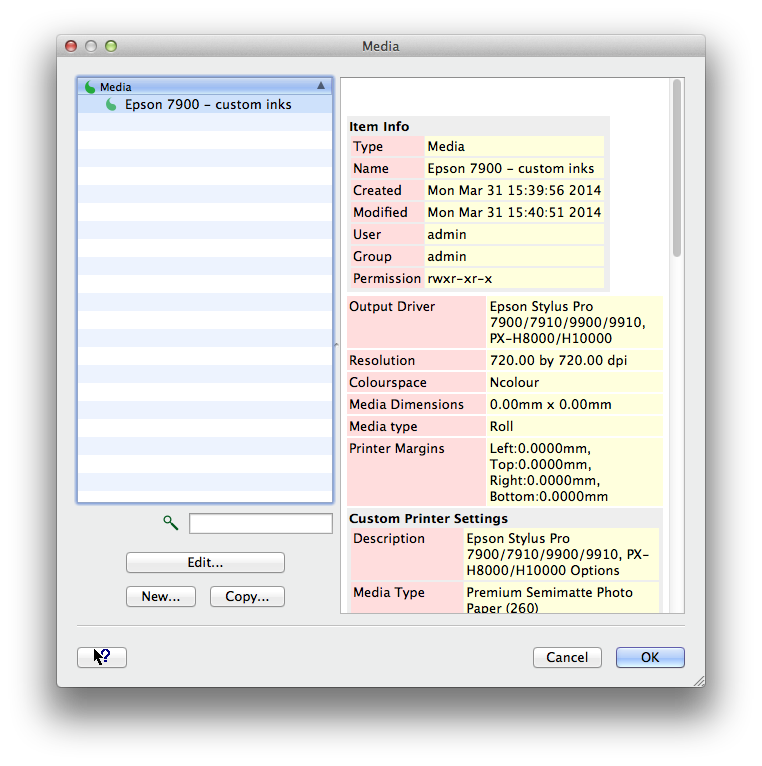
Create a Media in the Workbench, in this case it will be configured like this
- Epson 7900 driver
- Resolution – 720 x 720 dpi
- Colour Space – Ncolour
Custom Settings in the media are set as required, in this case the following settings are used:-
- Ink Type – Photo Black (the Matte Black ink will not be used for this Media calibration)
- Use Light Light Black and Use Light Black options are turned on, as both those ink slots are used by the custom ink set.
- Treat light inks as separate channels is turned on
- Output ICC profile will be left as the default Standard SWOP CMYK profile until the final multicolour profile is created.
Configure Pagesetup
Create a Pagesetup, assigned the Output and Media above to it. Set the RGB Input and Press Match profiles, rendering intent, etc.
Creating the Ncolour Paper Profile
STEP 1
Create a ‘New’ Paper Profile in the Workbench, choosing previously generated Ncolour Media from the pop-up window.
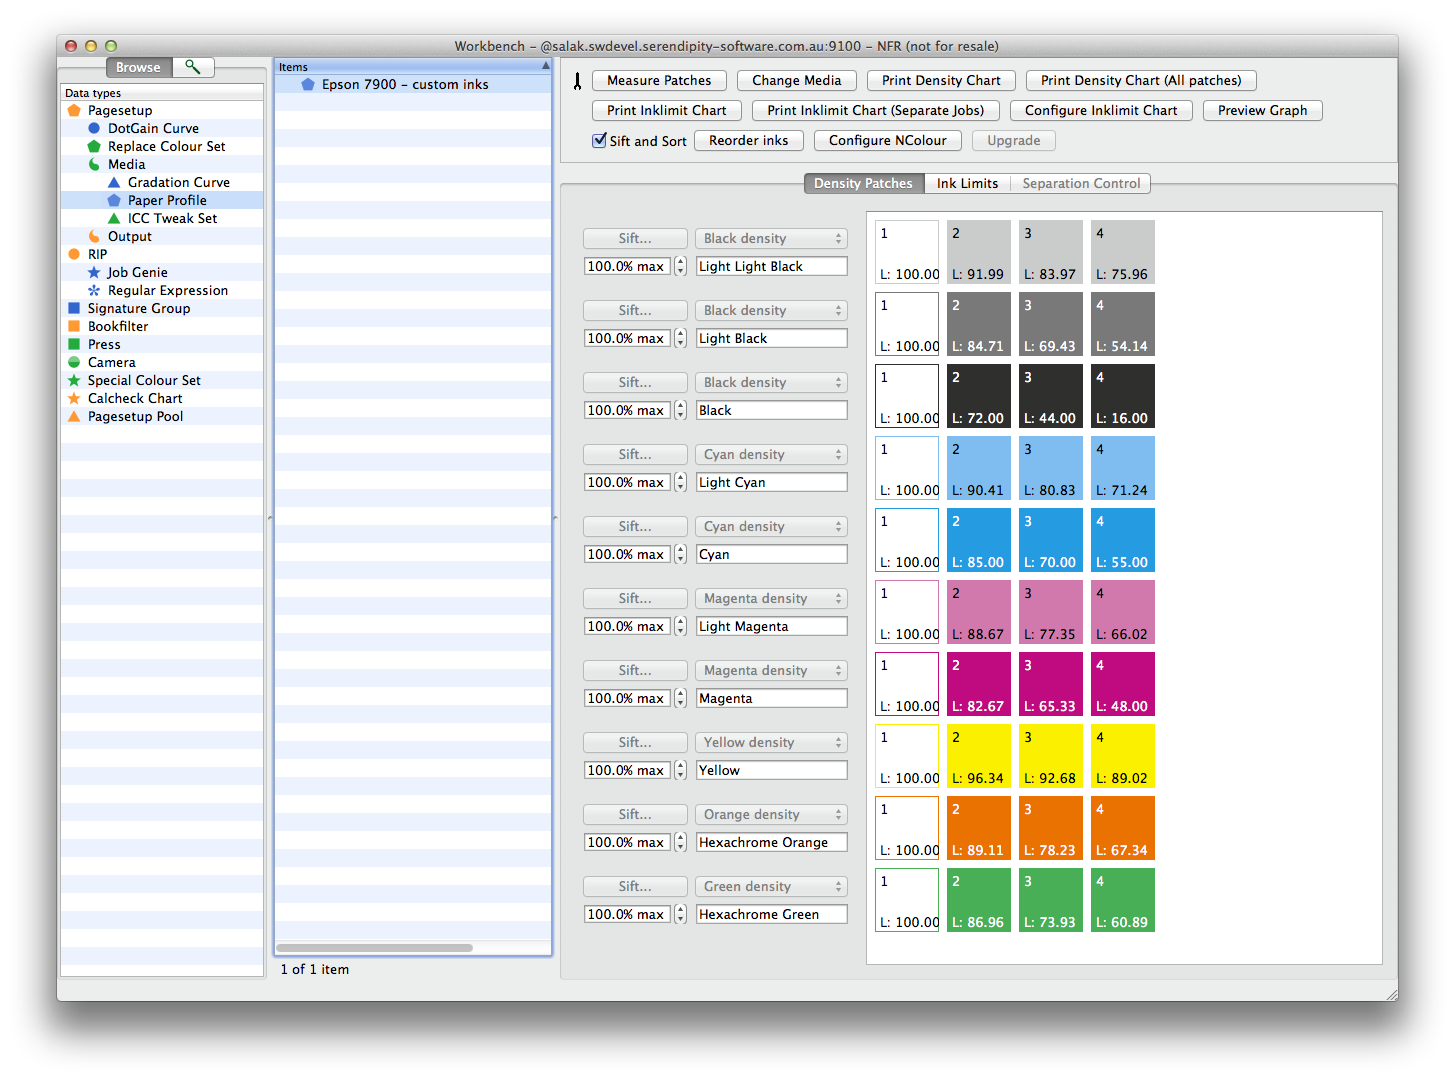
The Density Patches for the default (standard) set of printer inks will be displayed in the Paper Profile.
Press the Configure Ncolour button in the Toolbar to open the Ncolour Ink Configuration window.
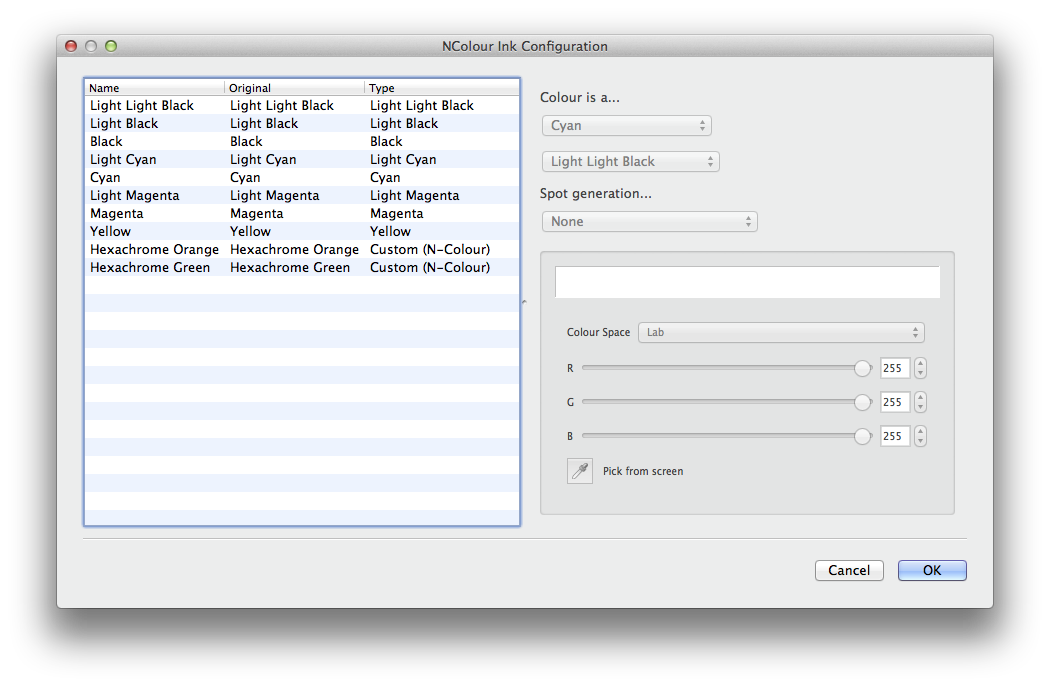
The Ncolour Ink Configuration interface is where the printer ink set is customised, where ink names are changed and ink colours, light inks and device spot inks are defined.
The interface is comprised of 2 panels, the Ink List (left) and the Ink Configuration panel (right).
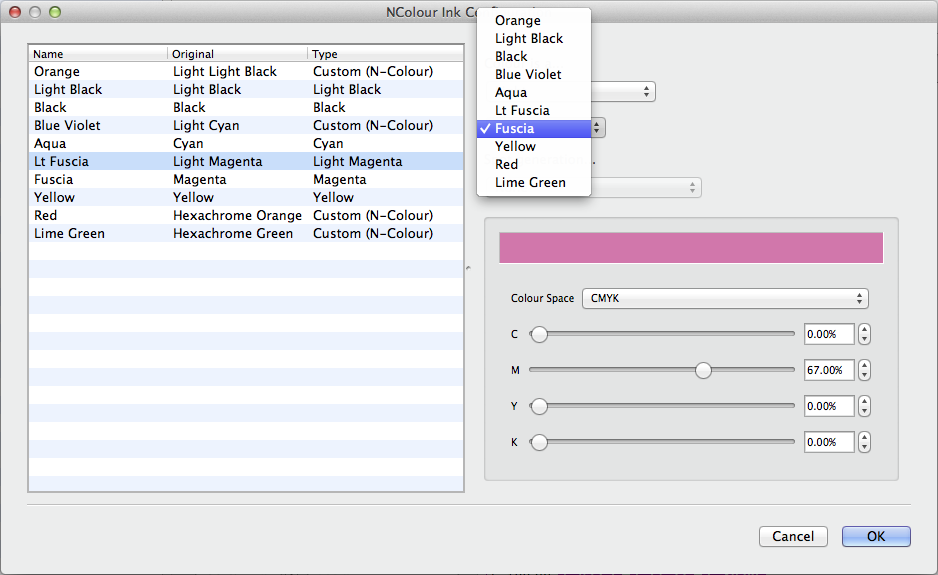
The Ink panel lists the inks available for customisation in the default order provided by the printer driver. The ‘Name’ column has editable ink names. The Original column lists the standard ink names for each ink slot. The ‘Type’ column lists the process, light or custom (n-colour) ink channel type for the purpose of creating an ICC Output profile for the printer.
STEP 2 – Renaming Inks
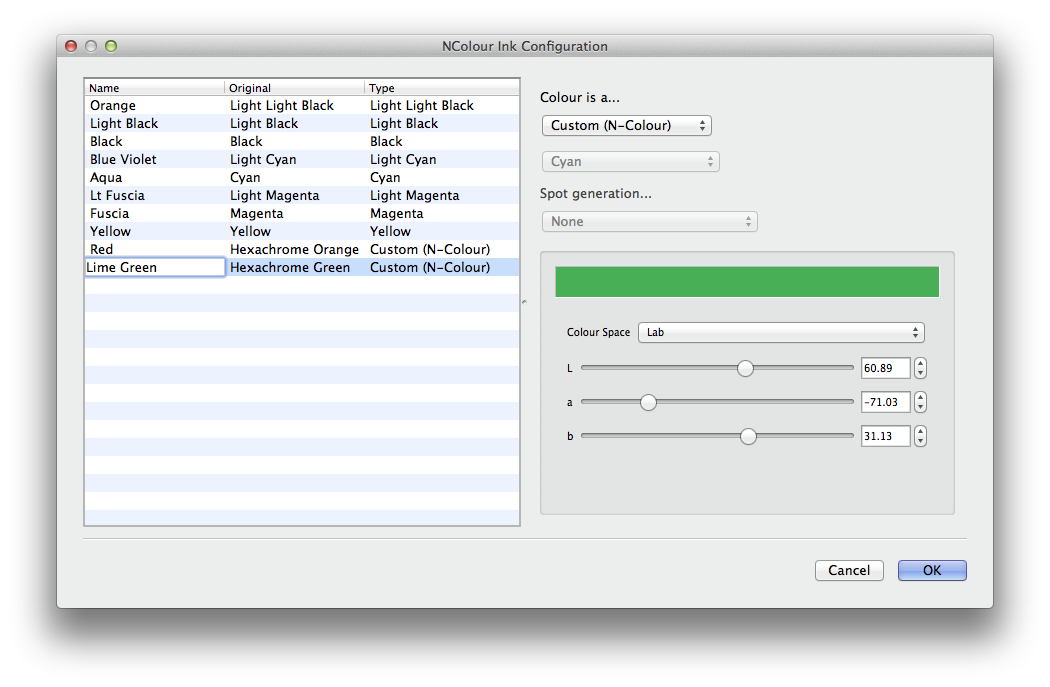
Begin by clicking on the first field in the Name column to edit the ink name. Proceed down the list, renaming each of the ink channels to match the replacement inks loaded in the printer ink slots.
e.g. the Cyan ink is renamed to Aqua, the ink installed in the Cyan slot.
NOTE – Reverting to defaults. If required, the Ink List has contextual (right-click) menu options available to revert the currently selected or all the inks to their default settings.
STEP 3 – Configure Ink Properties
Select each ink in the Ink List, then use the Ink Configuration Panel to edit the properties of each of the printer ink channels to match their function in the replacement ink set.
The upper ‘Colour is a…’ part of the panel has 2 drop-down menus used to select what channel type the ink occupies for colour management purposes. The lower half is a colour picker panel allowing the ink’s on screen display colour to be defined.
In this example, a ‘Lt Fuscia’ replaces the Light Magenta. To correctly define the Lt Fuscia choose Light from the top [Colour type] drop-down
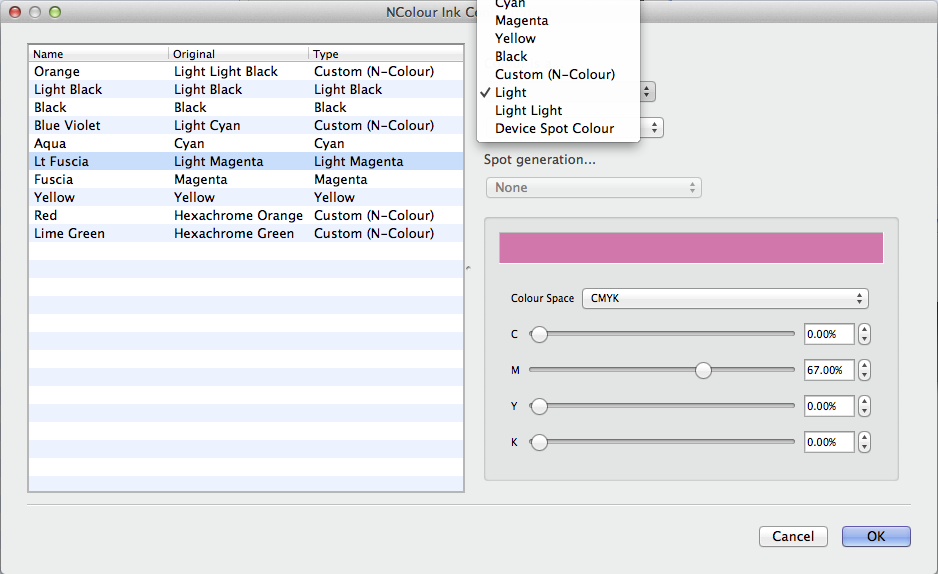
Choose a Colour Type - Cyan, Magenta, Yellow, Black, Custom (Ncolour), Light, Light Light, Device Spot Colour
Then select Fuscia from the second [Light Ink] drop down. Fuscia being the replacement for Magenta in the custom ink set.
Repeat this step to define properties for each ink.
NOTE – ‘Custom (N-colour)’ inks are inks that require colour management, but are not part of the CMYK component of a multicolour output ICC profile. Device Spot Colours are inks such as metallic and white. These device spot inks are handled outside the normal colour management process and are not included in linearisations or the output ICC colour space for printing. (Refer to Paper Profile > NColour Ink Configuration in the Serendipity product manual more detail).
STEP 4 – Defining ink channel on-screen display colours
The Colour Picker panel is used to change the colour of the ink channel as it is displayed in the Serendipity Client interface. Altering the ink colour to one closer resembling the custom printer ink makes it easier to identify when measuring patches for the paper profile, when linearising or examining channels in the Softproof previews.
Ink channel display colours defined in this step have no influence on colour management.
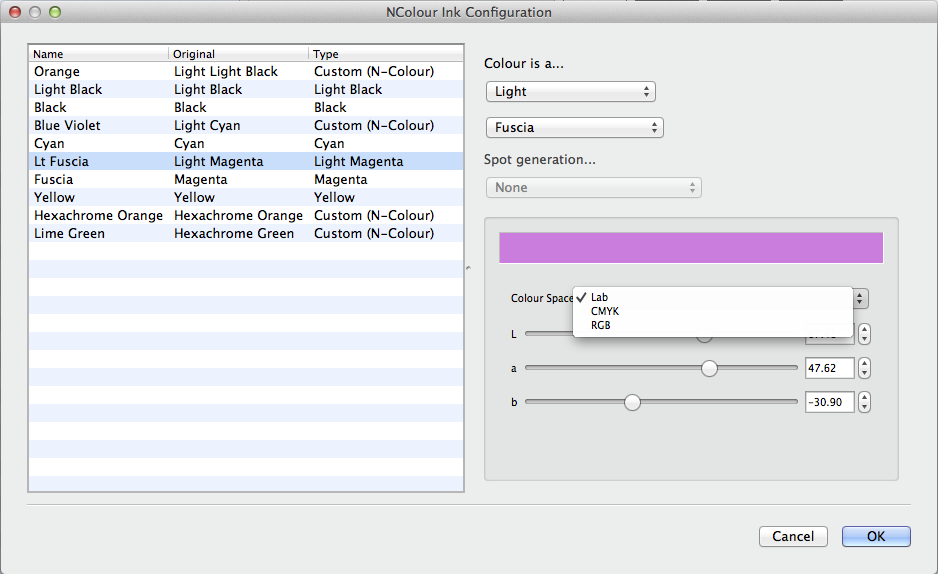
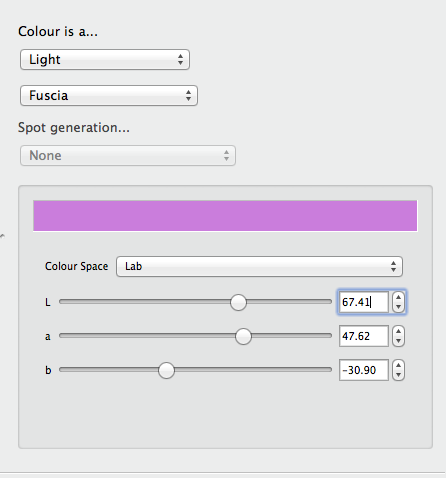
Select an ink from the Ink List, e.g. Lt Fuscia (Light Magenta), then choose a Colour Space from the drop-down.
Use the Sliders, or enter values directly into the number fields to define the colour for the ink.
NOTE – double-clicking in the colour swatch will open a Special Colour Set pop-up window allowing a colour to be chosen from an existing colour set (Blackmagic only). The RGB colour space has the option of using the ‘Pick from Screen’ button then clicking a colour anywhere on the display to define the ink colour.
Repeat this step to define on screen colours for the other inks as required.
Click OK to close the Ncolour Ink Colour Configuration window.
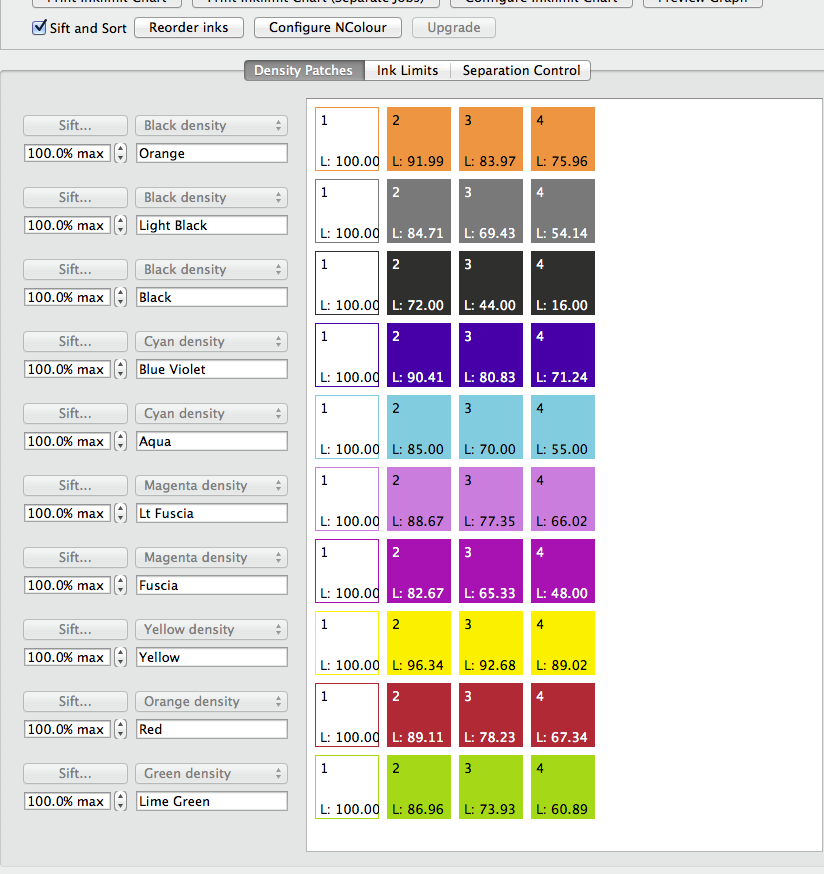
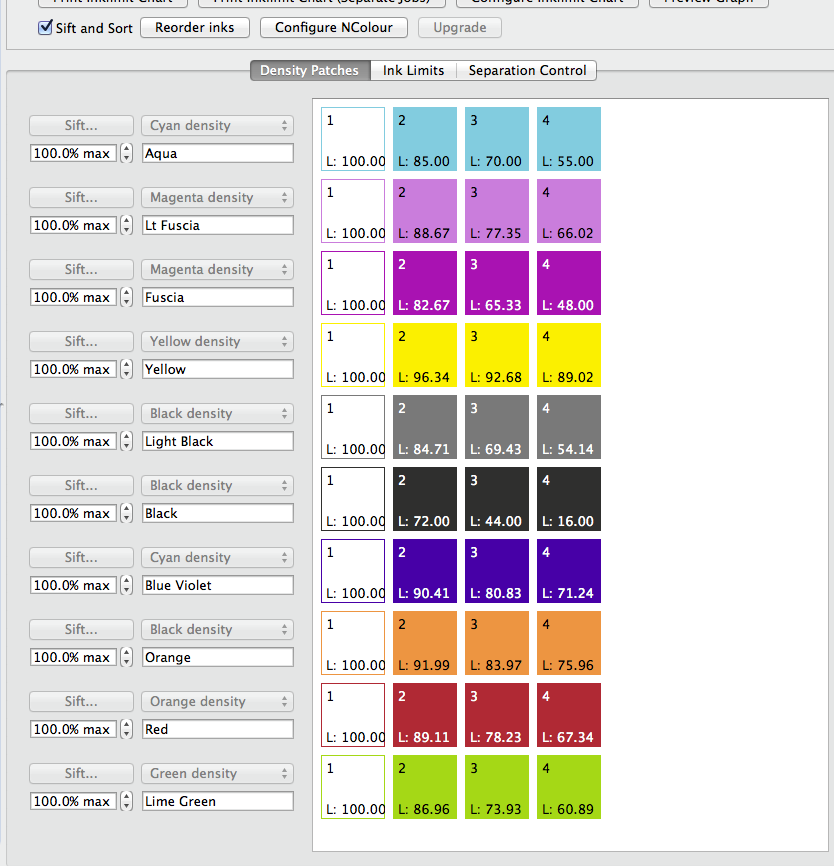
Density Patches will now display the renamed and re-coloured custom ink channels.
STEP 5 – Reorder Inks to match ICC profile order
At this point, if necessary, the ICC software should be opened and the multi-colour ICC profile colour space and ink channels defined. In this instance the ICC software has been pre-configured to produce a CMYK + BlueViolet + Orange + Red + LimeGreen (8) colour space.
Once the ICC colour space is defined, the Paper Profile Ink Channels need to reordered to match the ink order to be used by the ICC software.
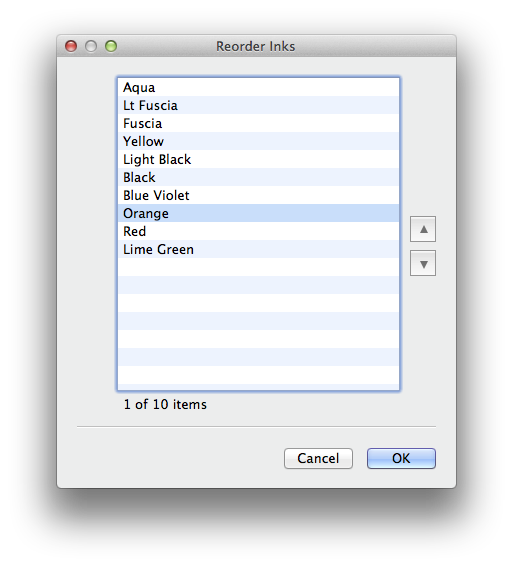
Click the Reorder Inks button in the Toolbar
to open the Reorder Inks window. Highlight an ink channel in the list and move it up and down the order using the arrows, or by drag-and-dropping the ink to the required position.
Light process inks should immediately precede the process ink, e.g. Lt Fuscia should be placed immediately above Fuscia.
Click OK to Save the new ink order, the Density Patches will be displayed accordingly.
STEP 6 – Density Chart, Ink Limiting and Separation Control
With the replacement ink set defined, move on to creating the rest of the paper profile using the normal procedures.
- Print the Density Chart, measure and select patches.
- Configure, print and examine Ink Limit charts to select Ink Limits.
- Adjust Separation Control if desired.
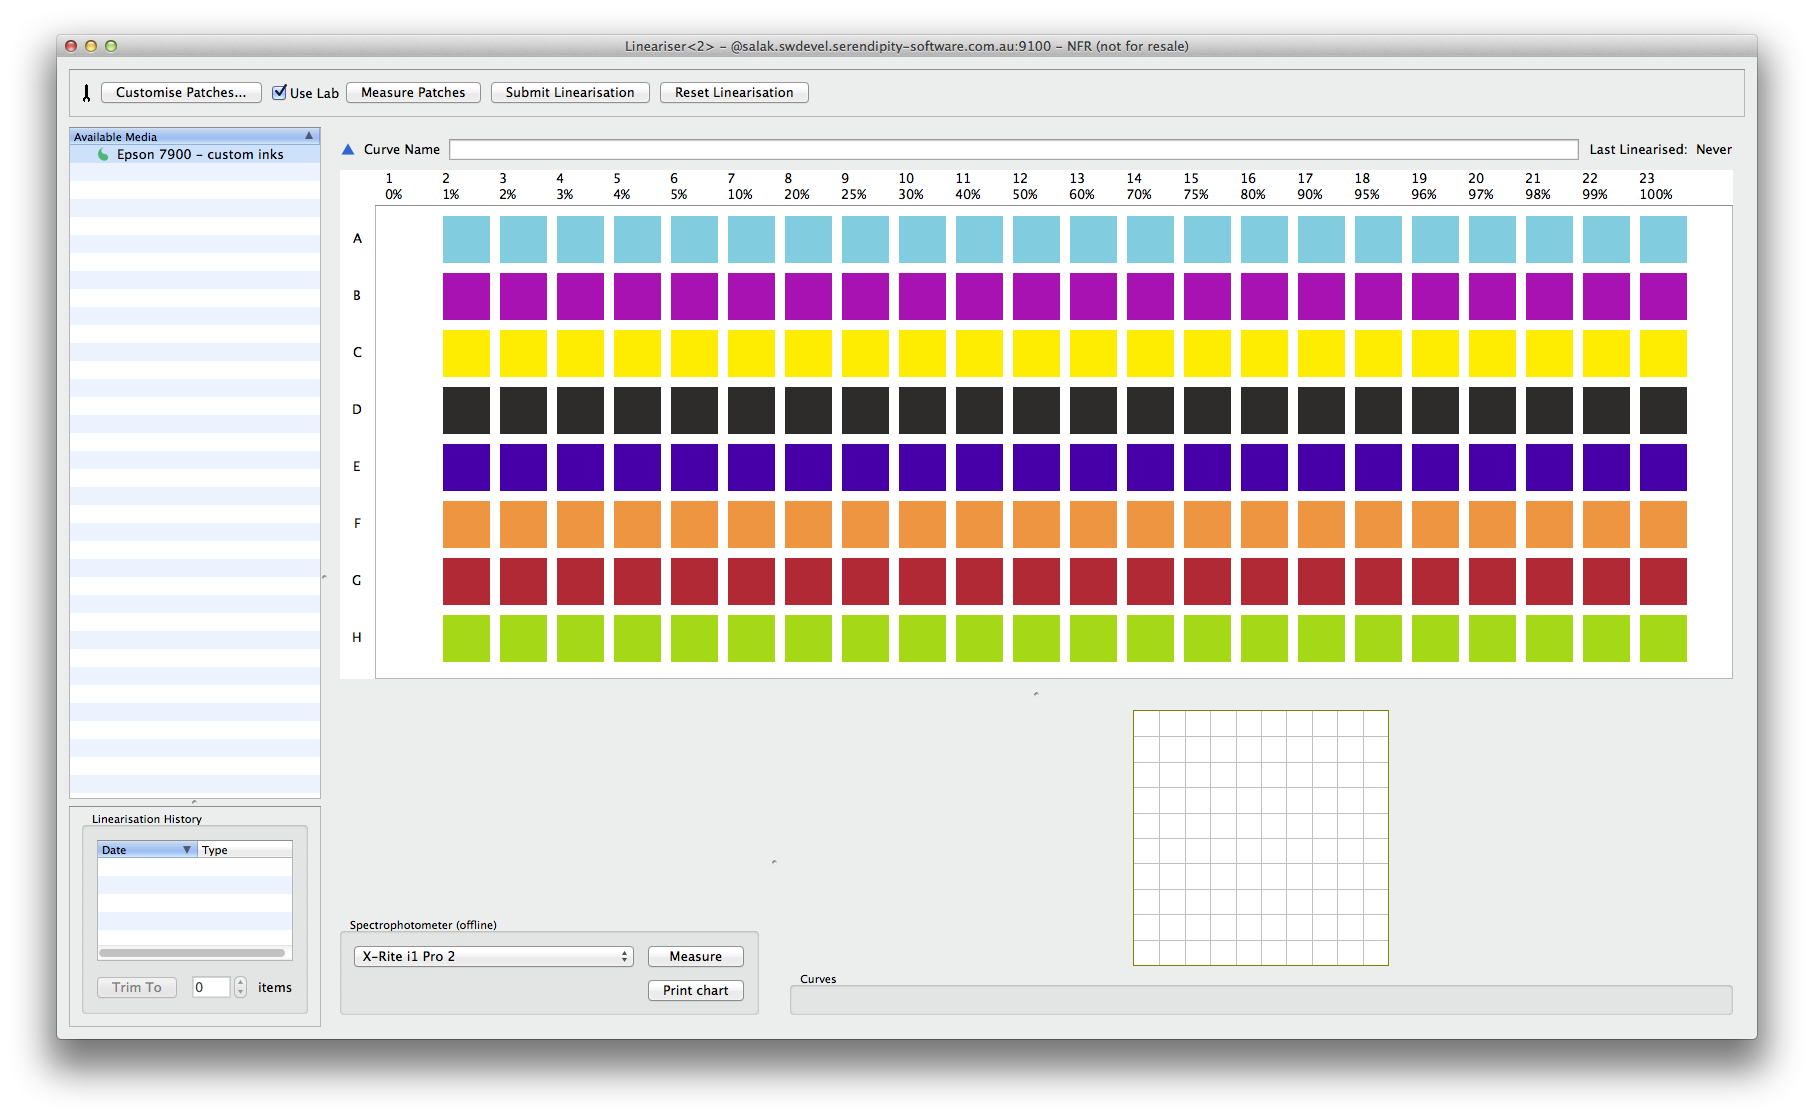
NOTE – The Lineariser application and printed linearisation charts will display in CMYK + Ncolour order as per the paper profile.

