
Serendipity Blackmagic / Megarip includes manufacturer ‘Printer’s Screening’ or ‘HTM’ (half tone module) drivers for many printer models.
Printer screening drivers utilise manufacturer designed LUTs (look up tables) to control the printer’s output. In addition, these LUTs utilise the extra inks available to certain printers – such as red, green, orange, violet and blue – to expand colour gamut available to them.
Printing with printer’s screening / HTM generally provides a significantly larger gamut suited to photographic and wide-gamut contone CMYK proofing output.
The sample configuration described below is for an Epson SC-P7000 printer being calibrated to match an ISO 12647 / Fogra 39 colour space. If any terms or functions mentioned are unfamiliar please refer to a Serendipity Blackmagic / Megarip version 7.0+ User Manual.
Note: The specifics of CMYK Output ICC profile creation are not covered in this article. Consult the documentation for your ICC profiling software.
Watch the Youtube video, or follow the instructions below.
Below is a guide to configuring and calibrating CMYK printer output using Serendipity Blackmagic / Megarip version 7.0 and above.
To calibrate a printer using Blackmagic / Megarip, the following steps are required:
- Configure the Output, Media, Jobticket and Pagesetup
- Linearisation
- Create and assign the Output ICC profile.
Note: Before beginning, make sure the printer is running optimally. Check to make sure the heads are clean and printing correctly.
Configuring the Output, Media, Jobticket and Pagesetup
Open the Workbench application via Application menu > Workbench.
Create and save an Output datatype Item in the Workbench:
- Create the Output.
- In the Printer & Media panel of the Output:
- Select the EPSON SC-P9000/SC-P8000/SC-P7000/SC-P6000 … with Epson Precision Dot Output Driver.
- Enable (tick) Monitor Printer Status.
- In the Destination panel:
- Select the Destination Driver (connection method).
- Connection via Bonjour/Zeroconf or TCP/IP Port is recommended. Configure the connection address as required.
- In the Queue Control panel, set the Status to Active.
- Save the Output.
Create and save a Media datatype Item in the Workbench:
- Create the Media.
- In the Output Driver panel of the Media:
- Select theEPSON SC-P9000/SC-P8000/SC-P7000/SC-P6000 … with Epson Precision Dot Output Driver.
- For this example, the printer Driver Settings are configured as follows:
- Use printer colour management – Disabled (recommended)
- Media and print mode – Premium Semigloss Photo Paper (250) (720 x 1440 dpi)
- Paper source – Roll
- Ink Set – Violet
- Output Method – Print and Delete
- Cutter Control – Auto Cutting On
- Direction Control – Bi-Directional
- All other settings remain set to defaults.
- In the Print & Media Settings panel:
- Set Printer Settings > Colourspace to CMYK
- In the Colour Management panel:
- assign a CMYK ICC profile to ICC Profiles > Output > Profile. The default Standard SWOP is fine, although any CMYK profile can be used at this stage.
- Save the Media.
Create and save a Jobticket datatype Item in the Workbench:
- Create the Jobticket.
- In the Colour Management panel of the Jobticket:
- set the Manage > Press Input > Profile to ISOcoated_v2_eci39. Note, we are using a standard Fogra 39 offset print ICC profile for this example. If the match profile you wish to use, e.g. GRACoL2006_Coated1v2, is not currently in the database, click the Upload Profile button in the ICC chooser pop-up, then navigate to the profile. If you’re not matching to a particular press standard, then the default Standard SWOP profile can be used.
- Set the Press Input > Rendering Intent to Relative.
- Ensure the Always Use ICC option is ticked on.
- Save the Jobticket.
Create and save a Pagesetup datatype Item in the Workbench:
- Create the Pagesetup.
- Assign the Output, Media and Jobticket created previously (above) in the Output panel.
- Save the Pagesetup.
Paper Profile is not required
Printer drivers that use the printer’s own internal screening, like the one in this example, don’t require a Paper Profile to be configured and assigned to the Media. The printer itself takes over the dot selection, ink limiting, separation and screening functions.
Linearisation
The next step in calibration is linearisation. Linearisation brings the printer into a known, neutral state, and gray balances the printer output.
When the a linearisation chart is printed all other colour management is disabled. This allows the printer to be re-linearisation in future without having to disable ICC, correction curves, etc.
It is recommended that the linearisation should be updated (reprinted and measured), on a regular basis. This returns the printer to the same state it was when your ICC output profile was created and assigned.
Printing the Linearisation Chart:
- Launch the Lineariser application via the Application menu.
- Select your Media from the Available Media list.
- Select the instrument to be used to measure the chart (in this example an X-Rite i1iSis) from the Spectrophotometer drop-down menu.
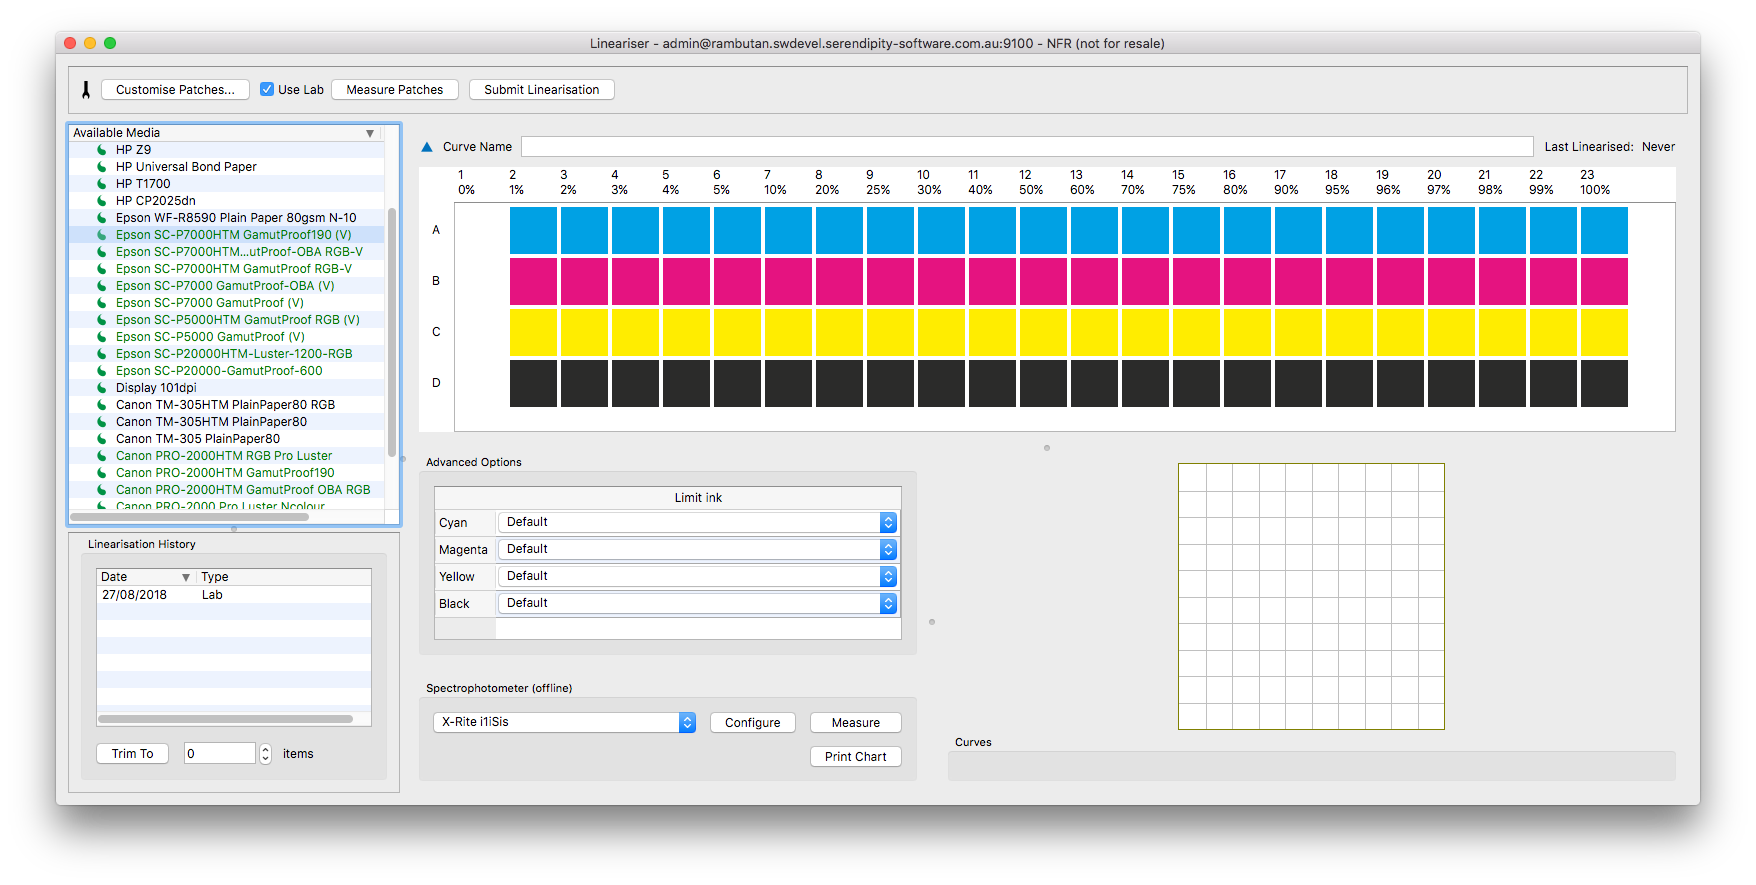
Lineariser measurement panel – CMYK
- Click the Print Chart button.
- Before printing, a popup will appear asking if you want to “Apply Colour Corrections to the Linearisation Chart”.
- Choose the default “Don’t Apply. Print to Linearise” option.
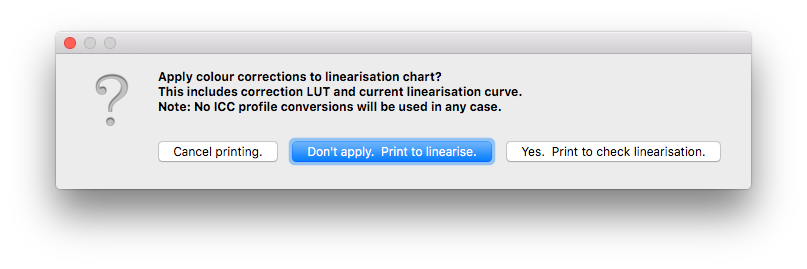
- Choose the default “Don’t Apply. Print to Linearise” option.
- In the Submit Linearisation Chart pop-up window:
- Pick the Pagesetup and Jobticket created previously.
- Click Submit to print.
- Once printed, allow the chart to dry and stabilise for 5-10 minutes.
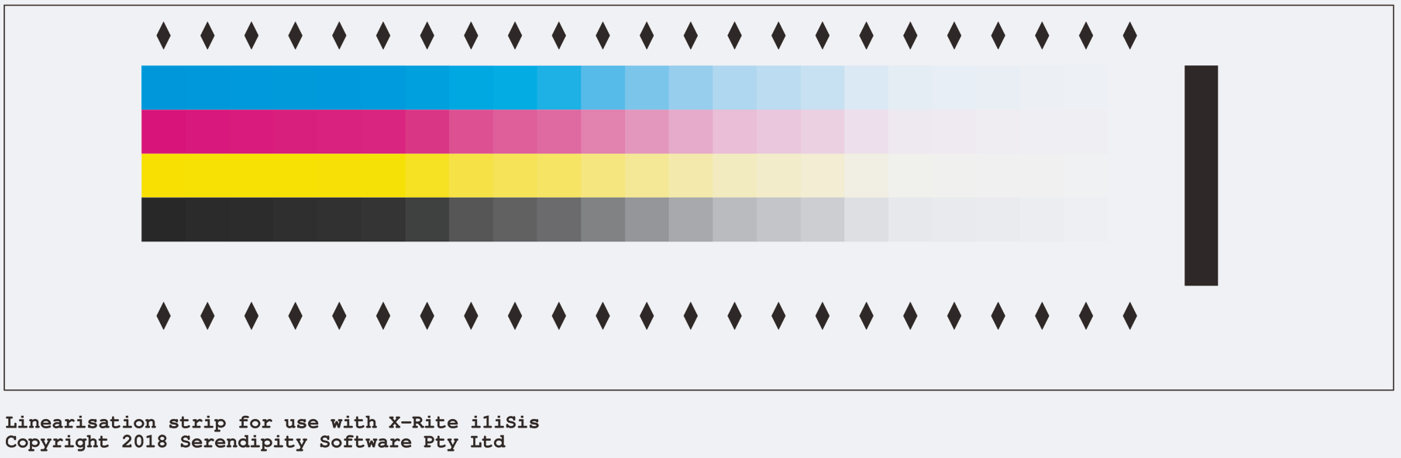
Printed CMYK linearisation chart


Measuring the Linearisation Chart:
- Check the instrument selection in the Spectrophotometer drop-down menu.
- Click the Measure button.
- Follow the calibration instructions and begin measuring. Depending on the device used, the patch or strip to be measured will be highlighted.
- If measurement is not automated for your spectrophotometer, measure each patch or strip in turn following the instructions at the bottom of the Lineariser window. To re-measure a strip simply select and measure it again.
- When all measurements are complete, Save the chart.
- If the Media does not already have a curve applied to it (as in this case), a save window will appear to enter a name for the curve.
- Enter a curve name and then click OK to save.
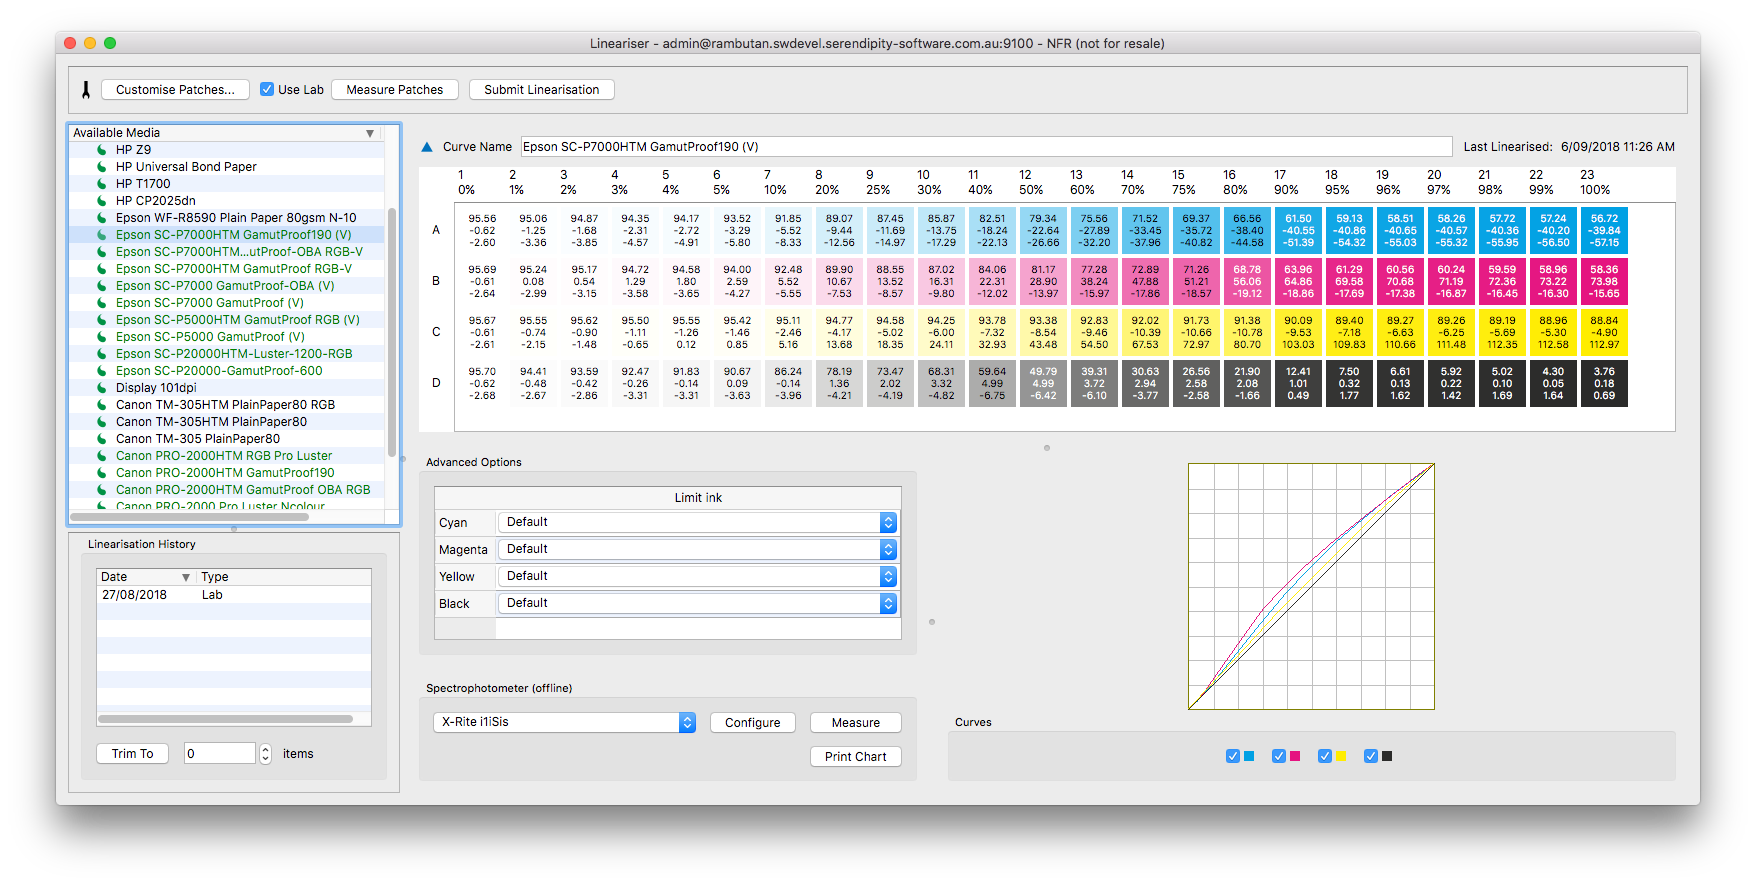
Lineariser – measured curves

When the Linearisation (Gradation) curve is saved, it is automatically assigned to the Media. If linearisation curve data already exists for the Media, Cancel / Create New / Overwrite options are made available.
Creating and assigning the Output ICC profile
Using your ICC profiling software, generate and save an CMYK ICC target chart.
The target chart file must be saved in either TIFF or EPS format.
For best results, it is recommend the CMYK target chart contain at least 1400-1600 patches.
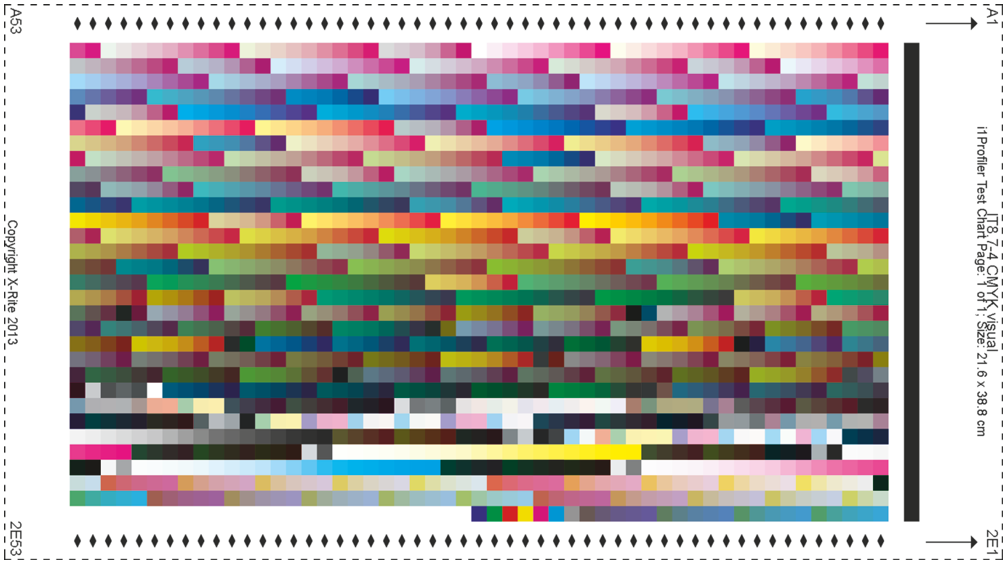
Sample 1 page standard IT8.7-4 CMYK ICC target for the X-Rite i1iSis.
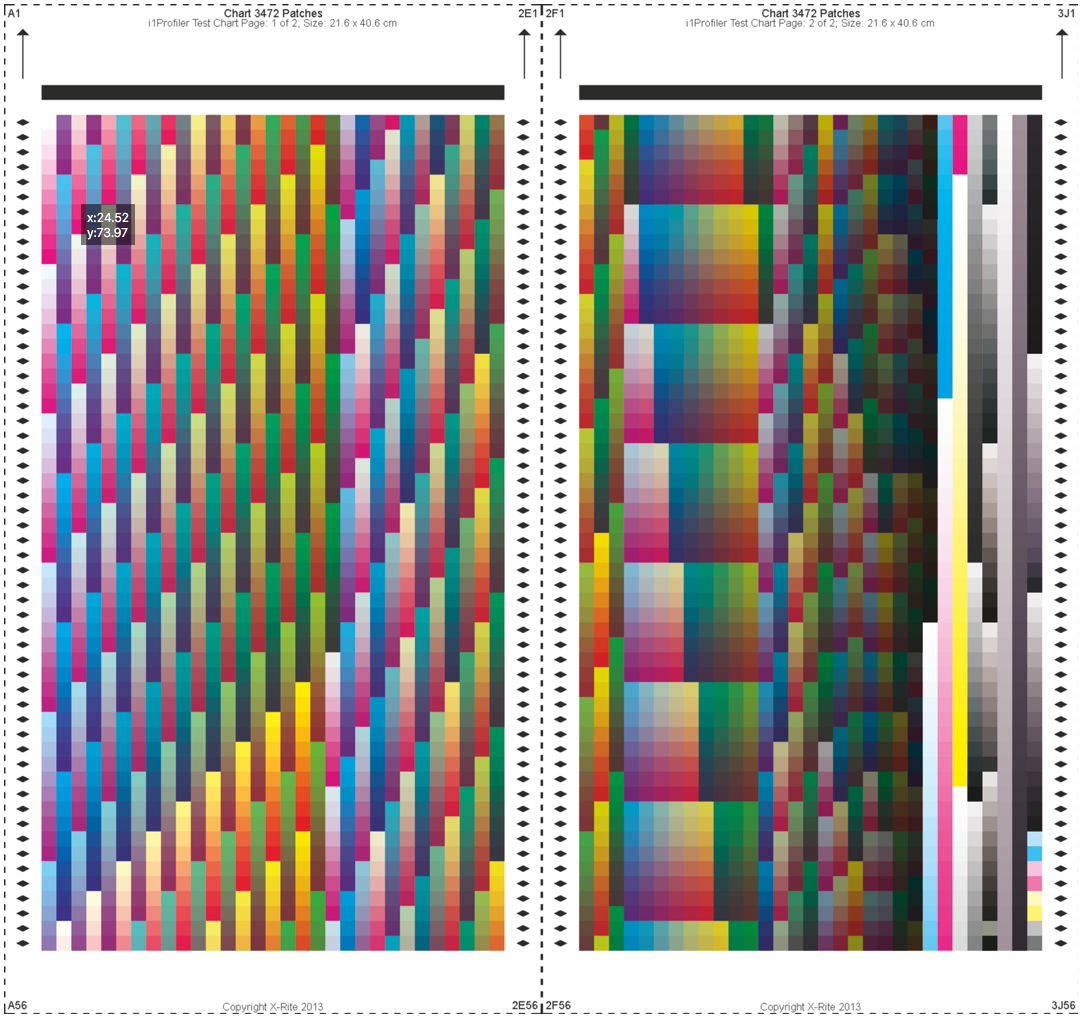
Sample 2 page, 3472 patch CMYK ICC target for the X-Rite i1iSis.
Printing the ICC target:
- In the Serendipity Client, select Submit menu > ICC Target. Submitting using this option ensures all ICC correction is disabled for printing.
- Use the file chooser to navigate to and select the ICC target chart file. Click Open.
- In the Submit ICC target pop-up window:
- Select the Pagesetup, Media and Jobticket created previously.
- Click Submit to print the target.
- Once printed, allow the ICC target chart(s) to dry and stabilise for a minimum of 20-30 minutes.
When the chart is stable, measure it using your ICC profiling software, then create the CMYK output ICC profile.
Assigning the CMYK Output ICC profile:
- Open the Workbench application.
- Select the Media created previously.
- In the Colour Management panel of the Media:
- Click the Profiles button under ICC Profiles > Output.
- Click on the Upload File button in the Choose a CMYK output ICC profile pop-up chooser window.
- Navigate to and select the saved CMYK output ICC profile, then click Open.
- In the second window, choose the printers folder and click OK. The profile will then assigned to the Media.
- Save the Media.
The Blackmagic / Megarip Media is now calibrated and ready for printing.
Proofing with the Media
If a CMYK Media has been calibrated using suitable proofing paper it can be used for contone proofing. providing a wider available gamut for spot/special colours.
The larger gamut of the output ICC profile will in many cases encompass an entire ISO press standard gamut, such as Fogra 39 or GRACoL, while providing a wider available gamut for spot/special colours.
Assign a CMYK Press Input match profile to the Jobticket, then print and measure an appropriate Calcheck chart using the Calcheck application to see if the Media passes your required press standard.